209
Most of us end up with dozens of custom made pallets due to shipments or deliveries in the era of online shopping; these are either stacked up in a corner until someone throws them in the trash or maybe used as firewood in the winters. Most people don’t realize that pallets make for great sturdy material as a substitute for wood in the making of the furniture. An outdoor patio bench is the easiest and the most efficient ways of using the pallet and turning it into a beautiful piece of furniture.
 |
| Custom Made Pallet |
Materials needed
- You can make use of any pallet here. Ideally, it should be made of oak or similar good wood.
- You also require a 8-ft pressure-treated 2×4
- Then you require a tool box, which can be as per options available, but preferably torx with 2 ½ -in deck screws
Tools needed
Saw with a wood-cutting blade it can be a circular saw too. Alongside, you would require a set of hammer, some markers, carpenters squares, power-screw guns and also a nail-pulling crow bar
Step 1: Making the seat and back
You can select any custom-made pallets size you want but 48-in x 42-in oak pallet is an ideal size for this DIY project. Measure the pallet and decide the dimensions of your bench back and bench seat. A normal size would be 17 inches tall. If any broken slats remove them and then start working on your bench after that mark off those same dimensions in this case 17 inches from end of each 4-crucial cross-members and make a cut. Use a circular for cutting 2 inches deep roughly, and mark them accordingly. Stack the shorter part of the pallet which will be the bench back for the longer ones, and the bench seat now you will be able not that the bench is finally coming together.
Step 2: Make the armrest/leg support
Now, you have to take the 2×4, which make the arm support along with legs, and cut them into 4 pieces. All should measure 21 3/4- inches.
 |
| Custom Made Pallet |
Step 3: Attaching the bench le
Now raise the bench on any kind of block. The back part must about 8-9 inches from the ground, while the front is about 10.5 inches higher. No rule of thumb here, you can change this as you wish too. Now in the same position fasten the legs using a drill without cords. Atorx can be used here too. The star headed (torx) screws are sturdy, and do not slip out easily. Now place these screws carefully across the bench legs and other back parts. What you are doing here is just attaching the leg and making sure that the remaining sections are fastened well. Now put 4 screws on the lower part and same on top and 2 more near the seat back section. Doing so will ensure that you are able to get optimum seating benefits and a very secure bench that will last for years to come.
Step 4: Make and attach armrests
Use custom made pallets slats and then run 2 screws into the arm and both the front rear leg and front leg attaching it to the bench.
Step 5: Sit and enjoy!
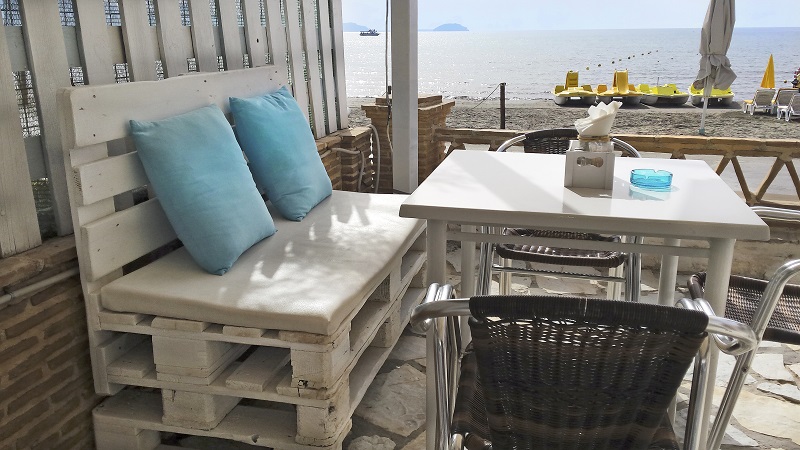
The bench would be more comfortable with a something softer like a pillow or even cushion. There are more variations, which can be done to this according to your own specifications.
The DIY custom made pallets are thus usable for so many more things part from just being restricted to shelves.